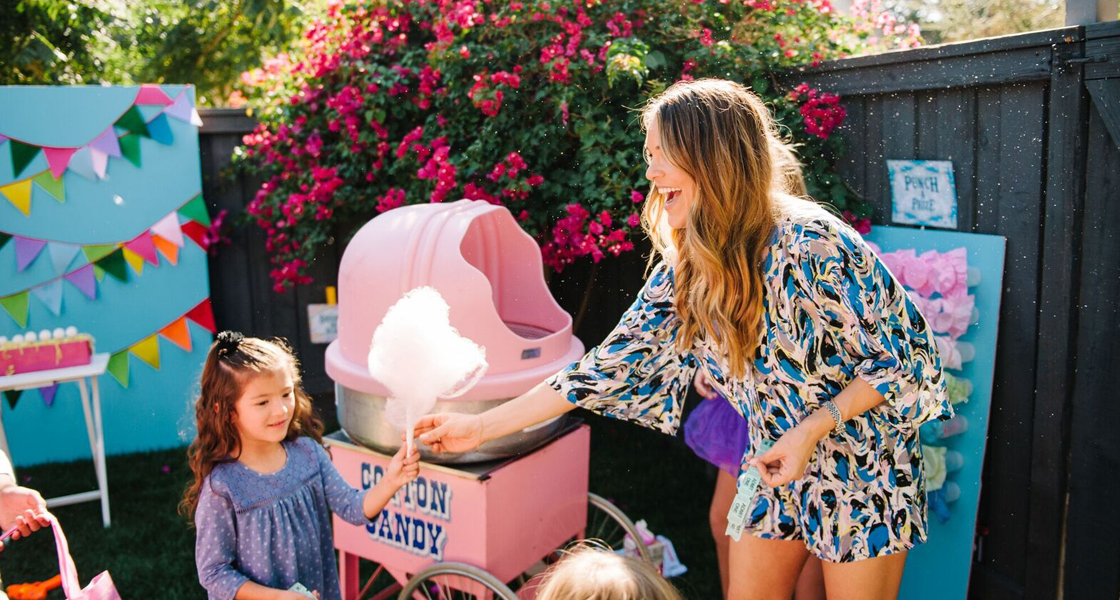
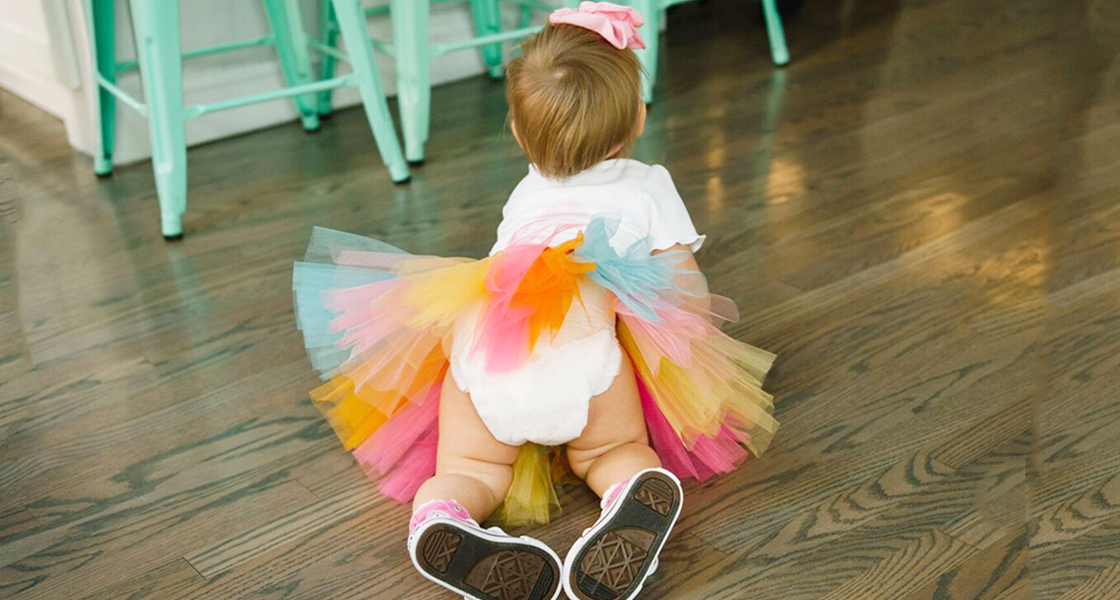
Olivia turned ONE!! Let’s CELEBRATE!!!! For her first birthday, I really wanted to go all out with DIY projects and thought a carnival would be a perfect theme. Color, Cotton Candy AND Games? I’m in!! Although it was a little chaotic getting it all together (what was I thinking making SOOOO much myself?), I love the way the party turned out. Here are some of my favorite DIY’s from the day…
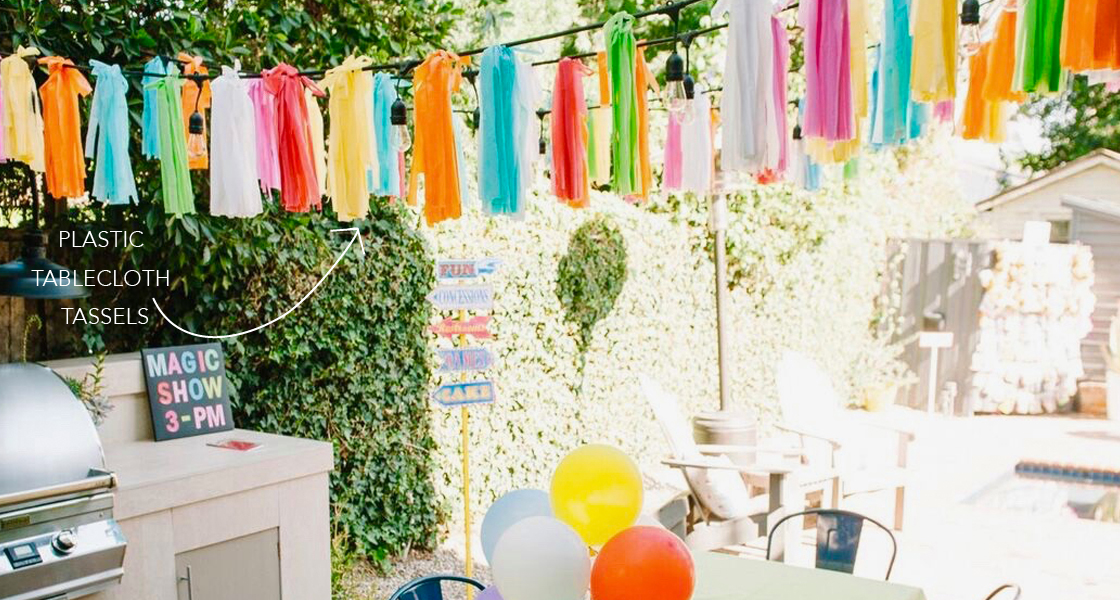
TABLECLOTH TASSELS
I used these on the 3ft balloons and the string lights in the backyard. These DIY tassels are super easy to make! (Thanks Mom, for all of your help). All you need to do is cut strips from plastic tablecloths (I got them at the 99 cent store) and tie one strip around the center to create each tassel!
RING TOSS & BEAN BAG TOSS
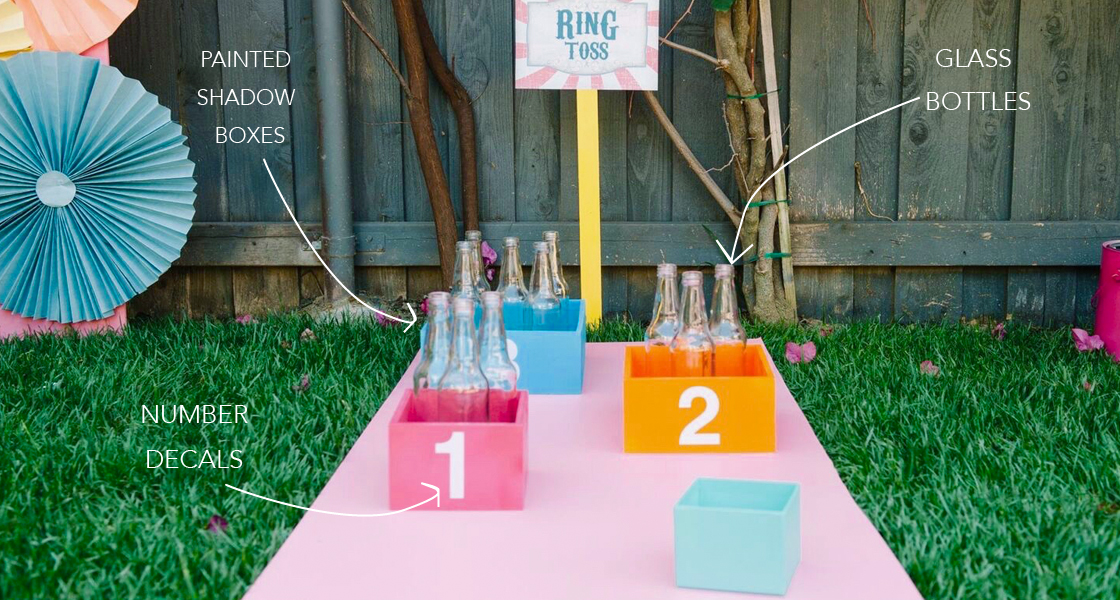
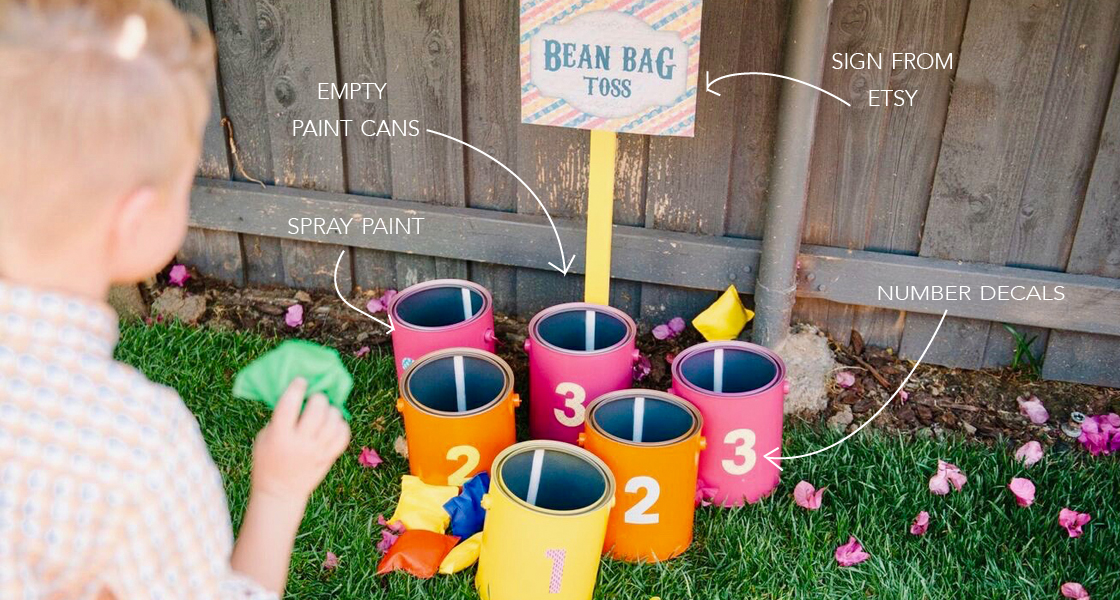
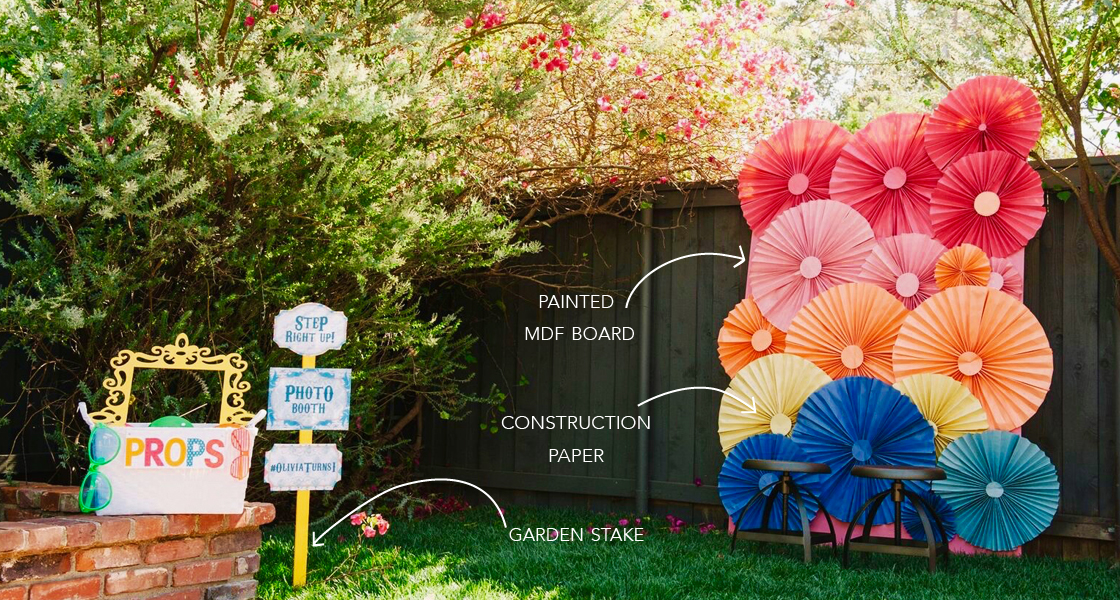
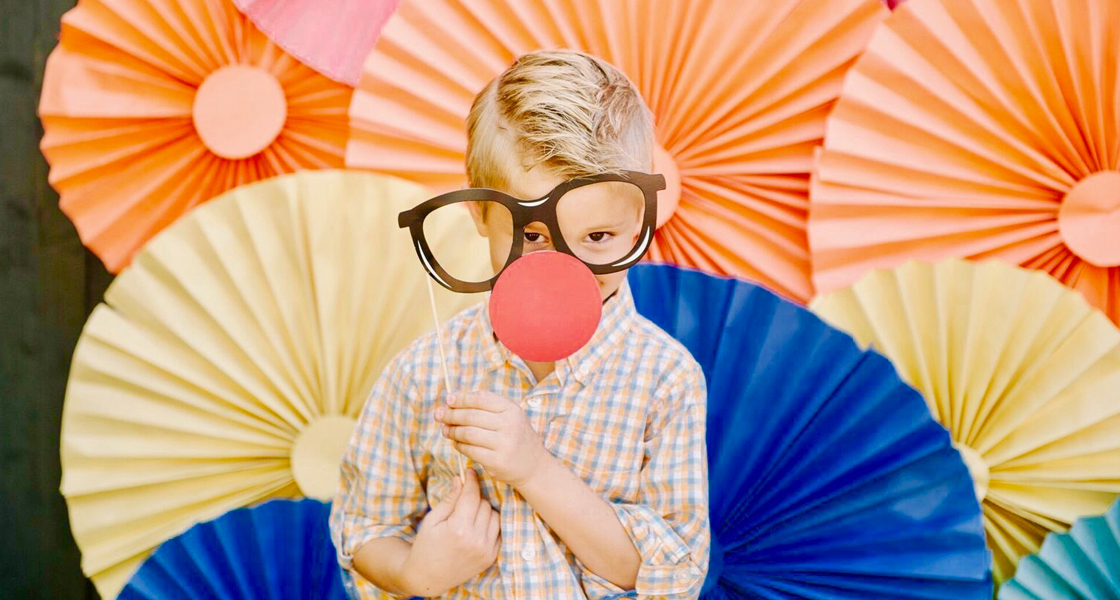
PHOTO BOOTH
Making this photo booth for the party was super easy and affordable! To make your own, all you will need is a pack of construction paper in assorted colors, hot glue and a large backdrop! First fold the paper “accordion style” to create small fans. Next, glue together the outermost folds of each fan. At this point you will have achieved the pinwheel effect! You can vary the size of the wheel by gluing multiple “fans” together! Now you are ready to attach them to the backdrop using hot glue. For my photo booth backdrop, I used a large piece of MDF and a little pink paint! I was thinking of using a huge foam core board at first, but I’m glad I went with MDF. It was WAY more sturdy and a little less expensive.
P.S. How adorable is my nephew, Parker?
SQUIRT or SLING GAME
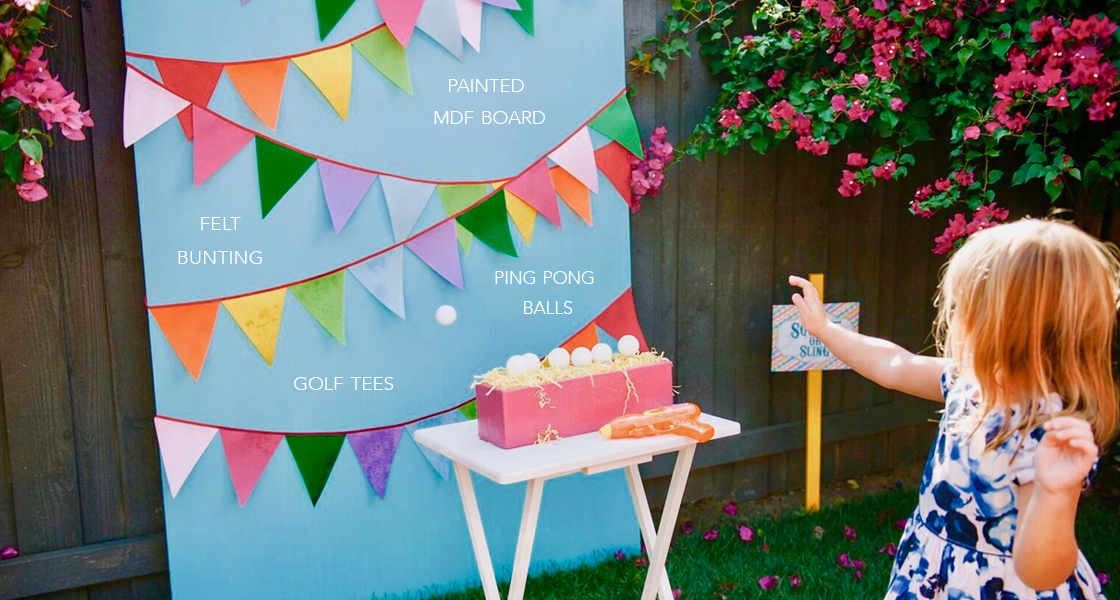
This game gave kids a choice…. Knock the ping pong balls off of the golf tees with a sling shot (don’t worry… it wasn’t a real sling shot. It was for kids) or use a water gun. I had a pail of water next to the table for refills. Of course, most kids don’t like rules… so they ended up throwing balls at the balls, which was A-Ok with me.
PUNCH – A – PRIZE
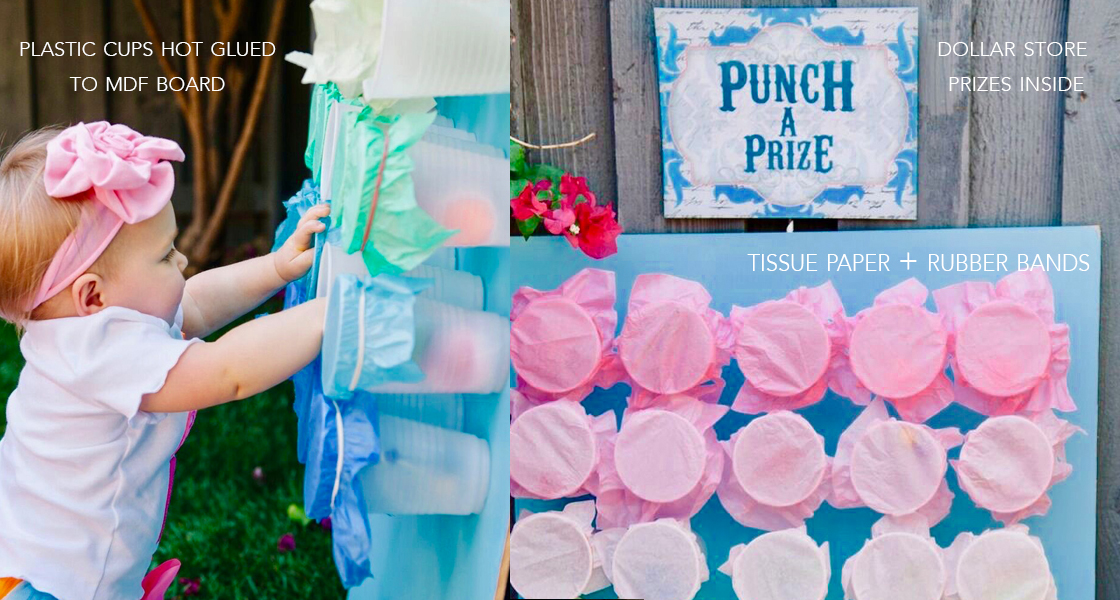
I thought this set-up wasn’t going to be too exciting, but it was a total hit! I got most of the prizes at the dollar section at Target, and the kids couldn’t get enough! I glued the plastic cups to another small MDF board and wrapped the top of each with a small piece of tissue paper, and held them in place with a rubber band. Each kid had a chance to pick a cup to punch. Some prizes were better than others, but no one seemed to care or notice.
DESSERT TABLE SKIRT
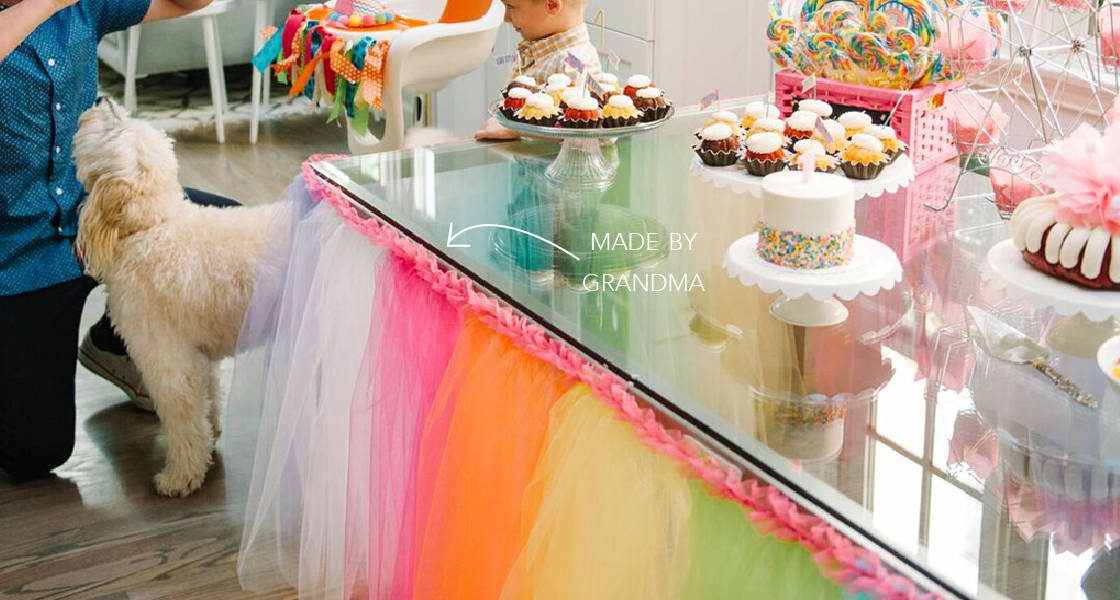
Nothing to say about this except, THANK YOU MOM!!!!!! *She took weeks to hand sew this for the dessert bar! #GrandmaLOVE
TABLE DECOR
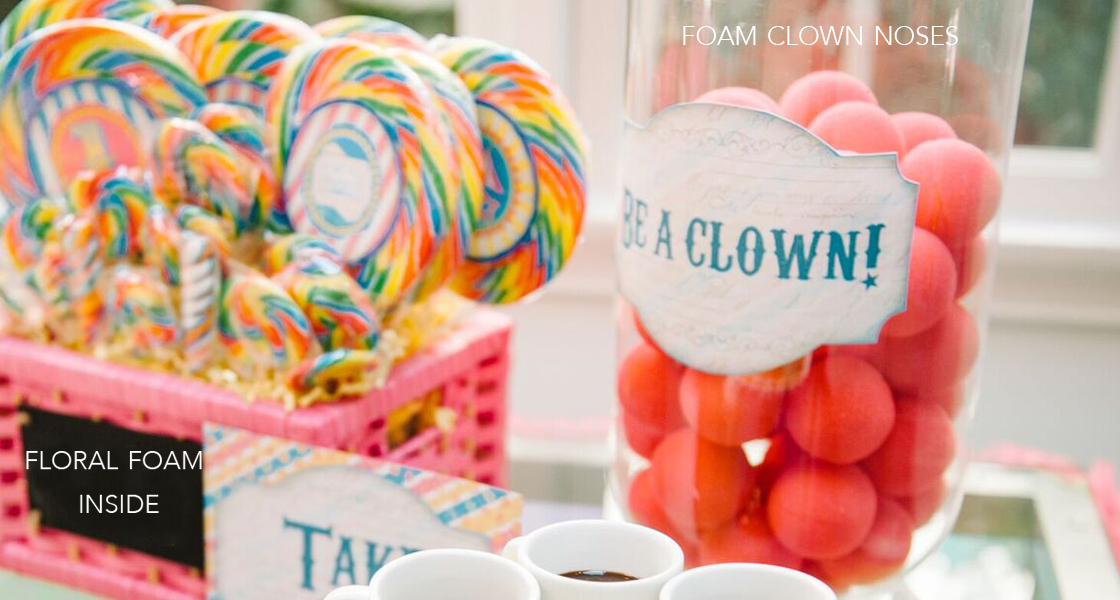
The lollipop display was easy peasy to put together.
Pink basket + Floral Foam + 30 different sized pops= Dessert Table Decor.
OLIVIA’S HIGHCHAIR
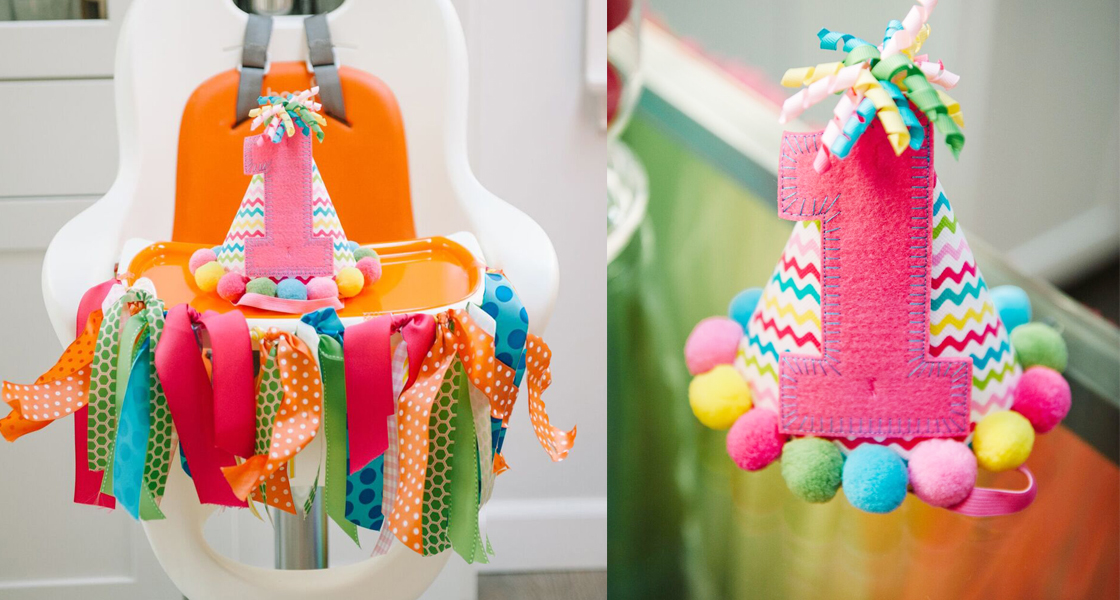
I wrapped different patterns and colors of ribbons around a piece of twine and held in in place with washi tape.
P.S. hat source info below. Sooo cute!
TATTOO PARLOR
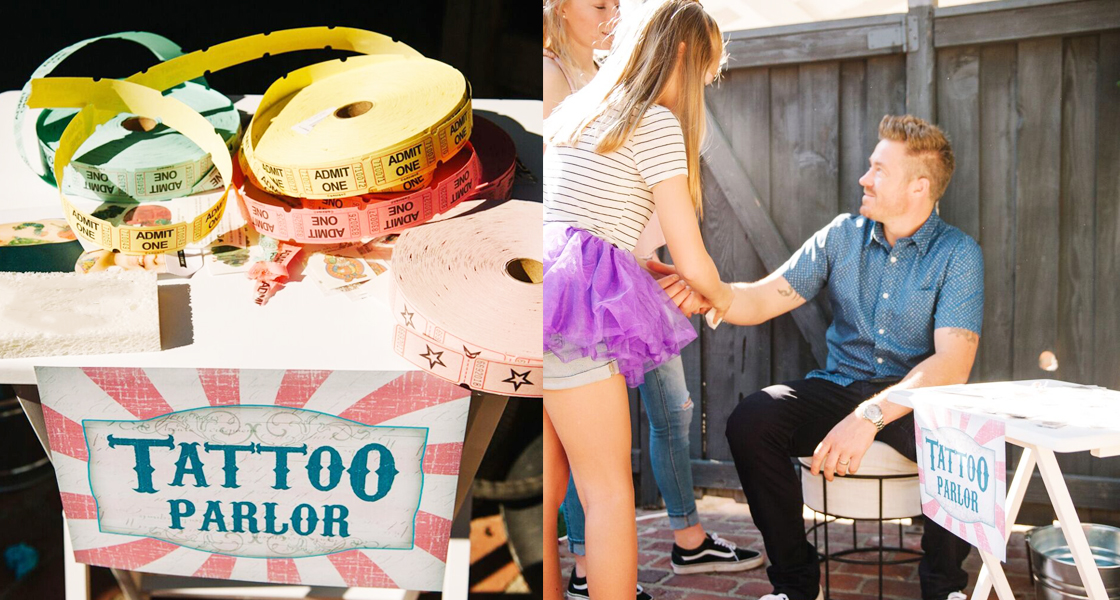
I bought the TV tables at WalMart and spray painted them white.
Just place a pile of temporary tattoos on top with a sponge and dish of water, and you are done. Luckily, I had my niece, Sophia, around to act as a “tattoo artist” for the day.
PRIZE WALL
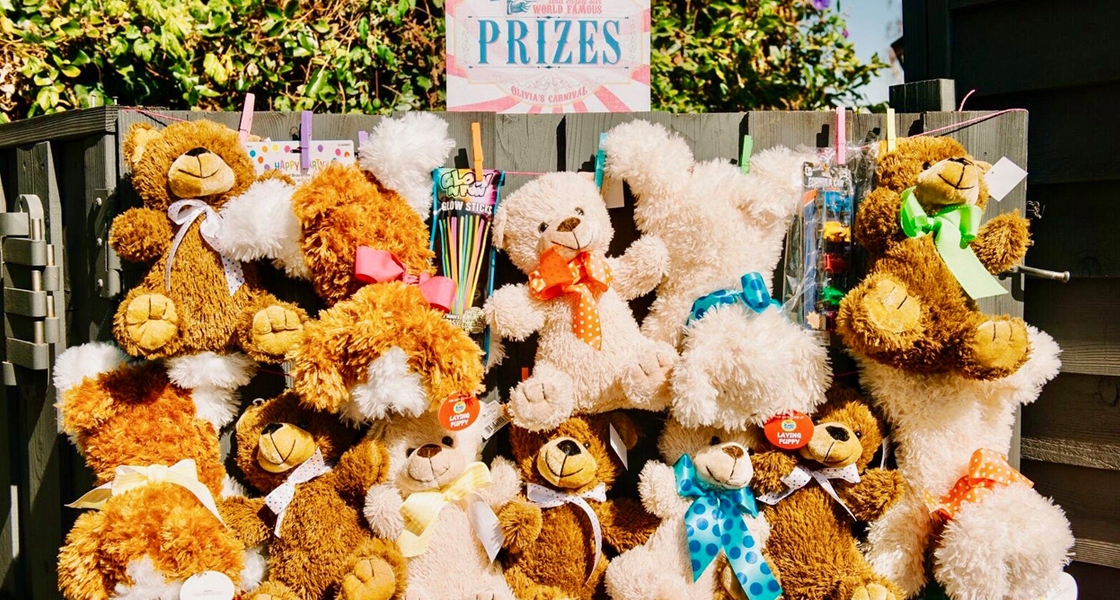
We attached all of the prizes to twine and clipped them with painted clothespins.
Some other sweet moments and shots from the day…
SHOP THE PARTY
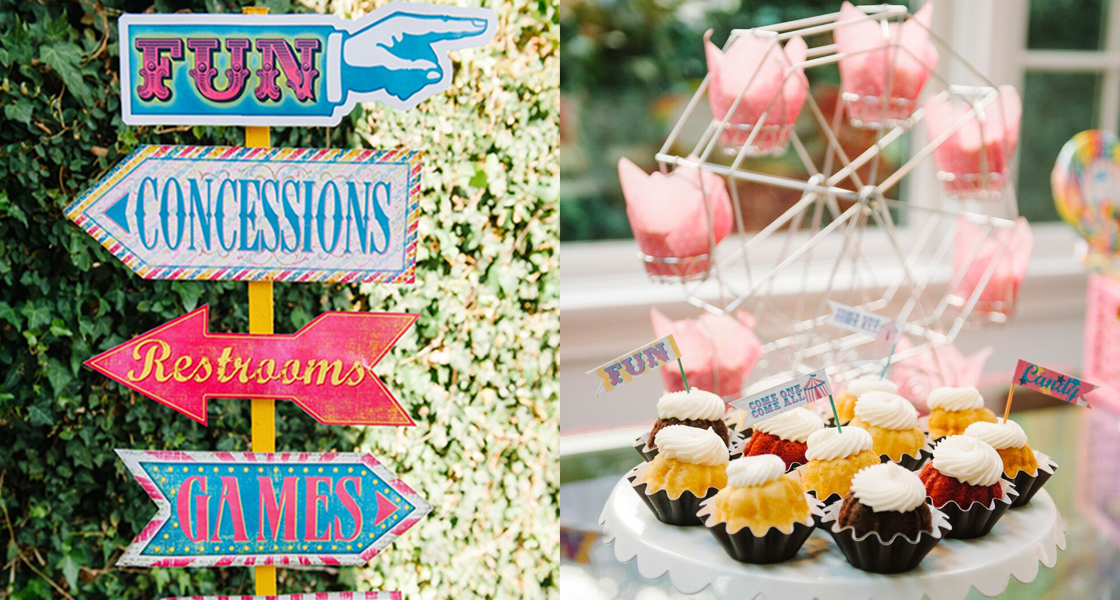
1. Etsy Carnival Signs / 2. Olivia’s Dress / 3. Ferris Wheel Cupcake Stand / 4. Photobooth Props / 5. Clown Noses / 6. Admit One Tickets / 7. Ring Toss Bottles / 8. Smash Cake Kit & Hat
Thanks for coming to OLIVIA’S FIRST CARNIVAL 😉
What do you think? Would LOVE to hear any feedback in comments!
Don’t forget to tag me in pictures if you make any of these Carnival DIY’s at home! I’d love to see!
Xo