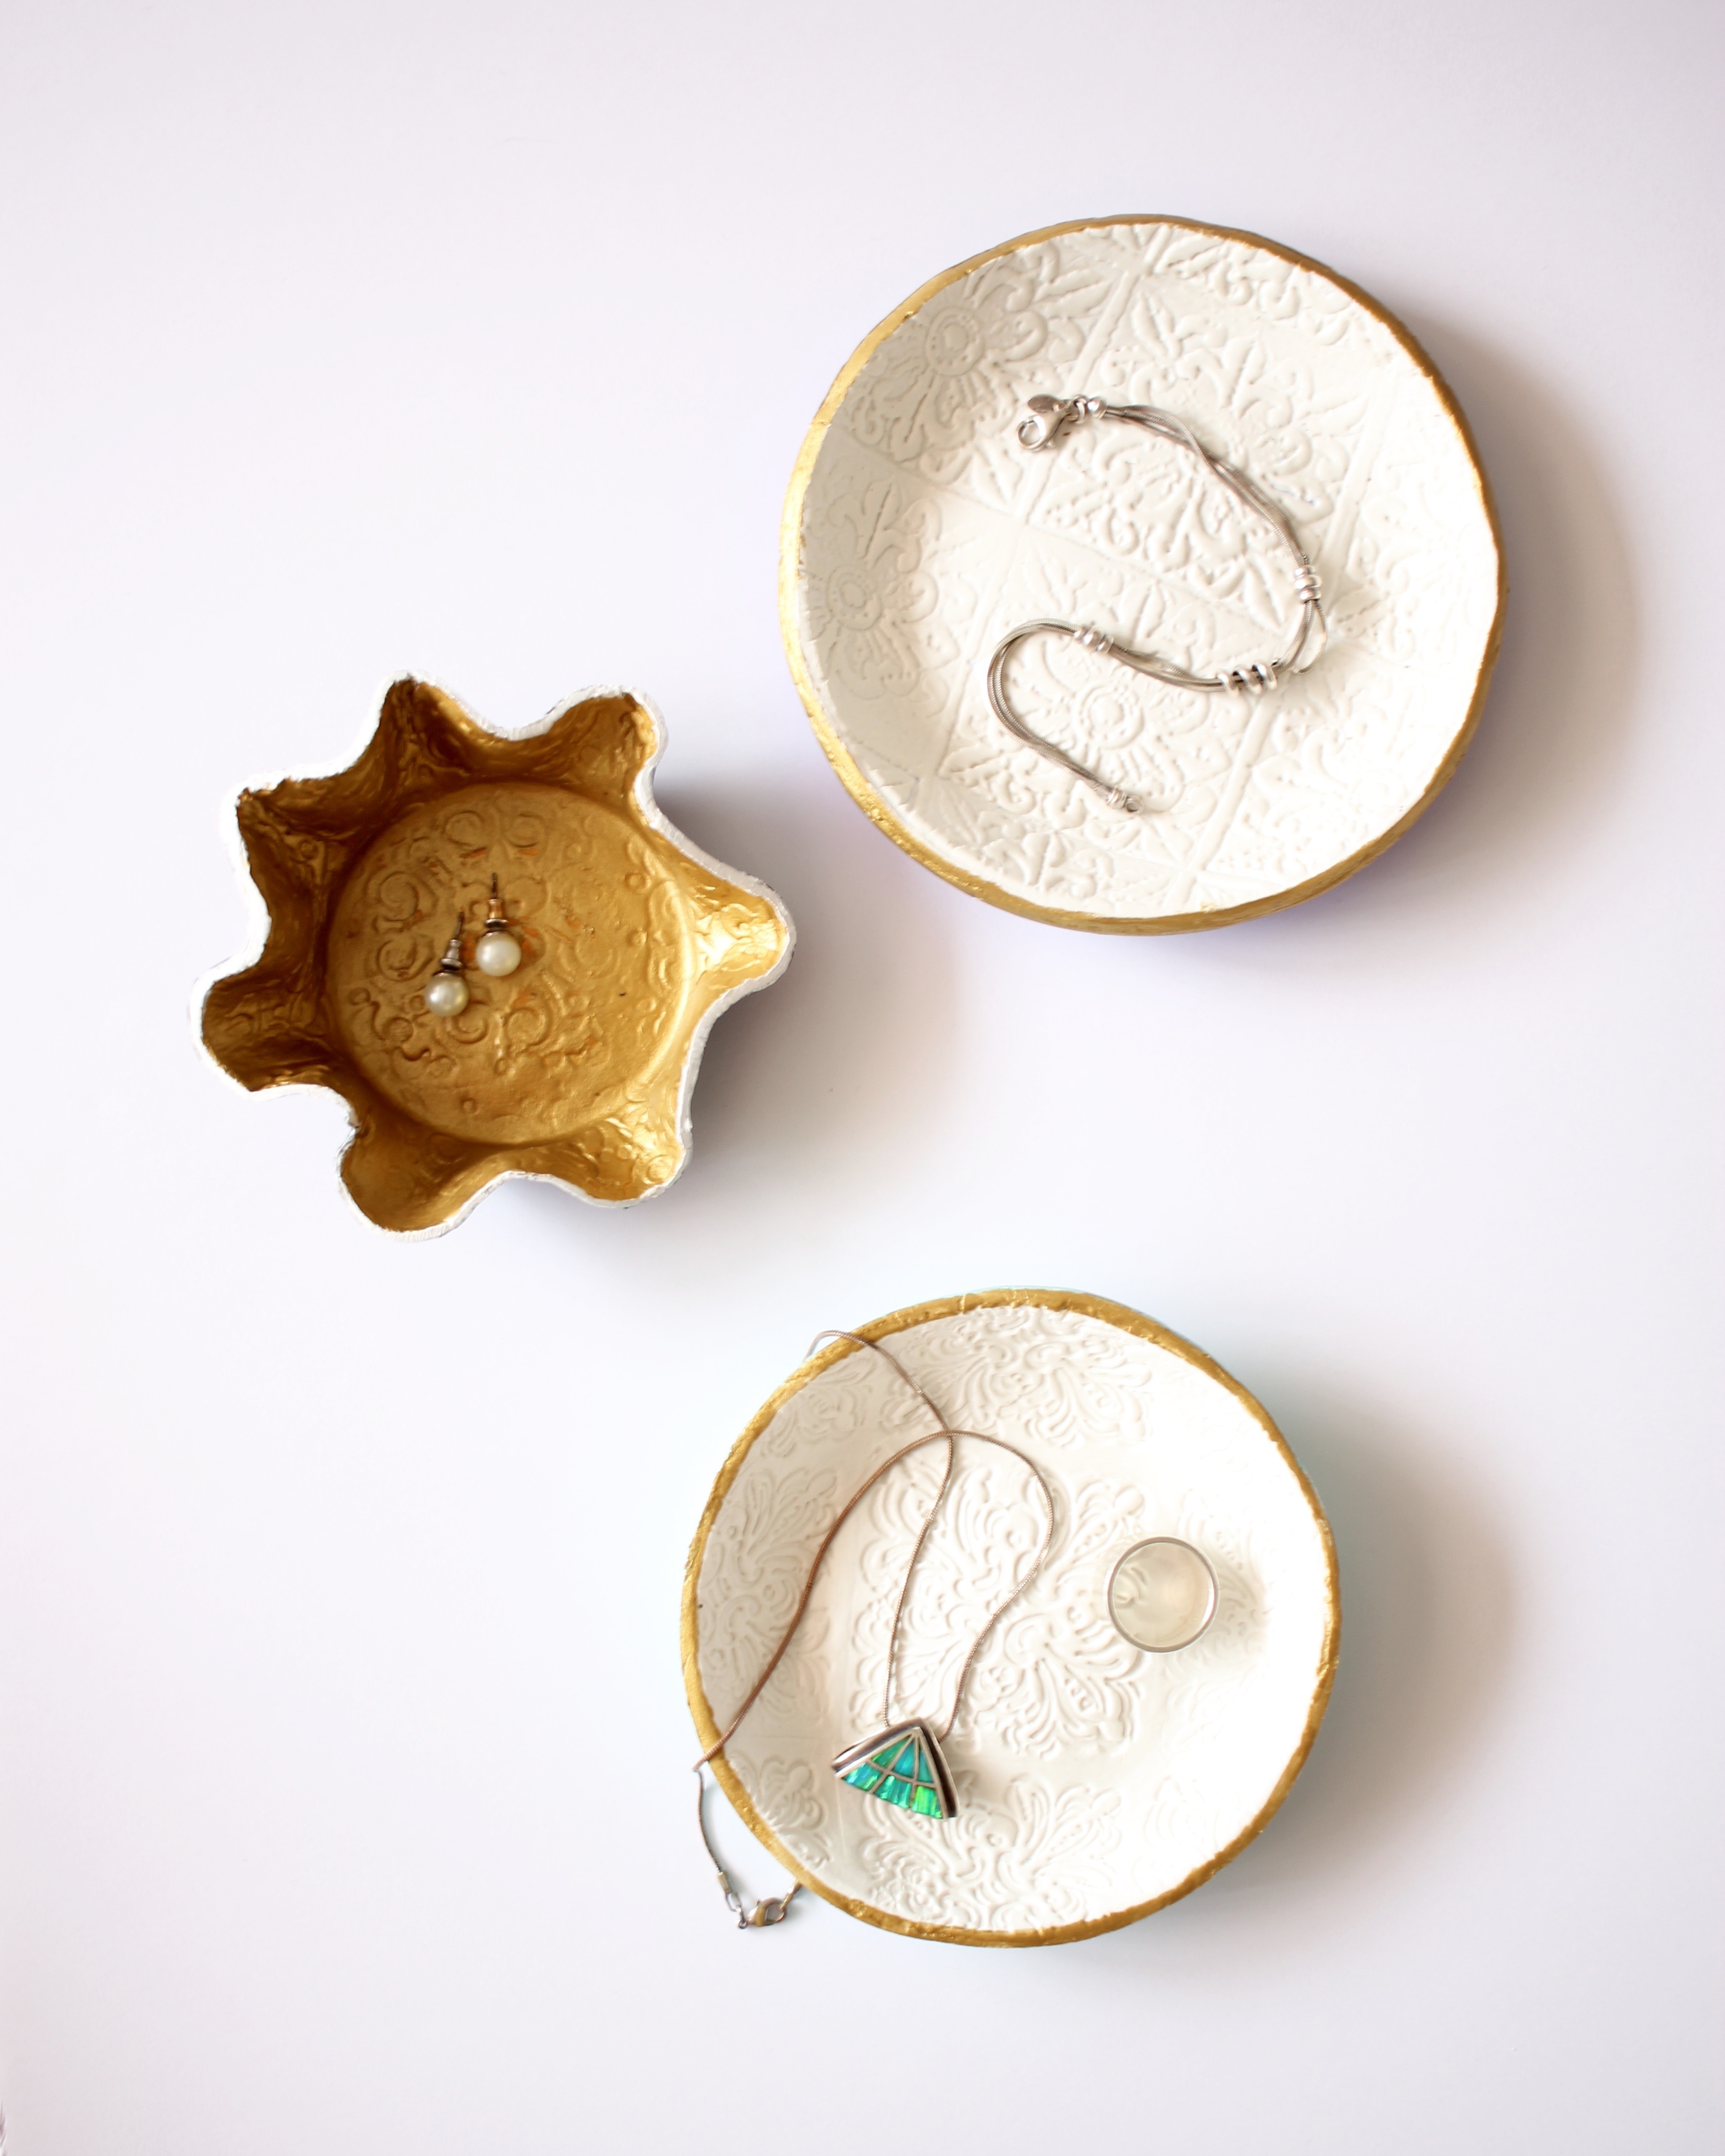
I recently discovered air dry clay and now I am absolutely in love this stuff! There are a million different ways to use this clay, but today we are making stamped bowls with this awesome product. They’re the perfect thing to keep on your bedside table for storing all of your rings and things.
Materials Needed:
Air dry clay
Selection of rubber stamps (I have one that has five sides with different motifs on each side)
Set of small bowls
Rolling pin
Knife
Sandpaper
Paint and brushes
Satin Finish Spray

How-to:
1. Take your air dry clay and knead until soft. Roll your clay out to about 1/4” thick.
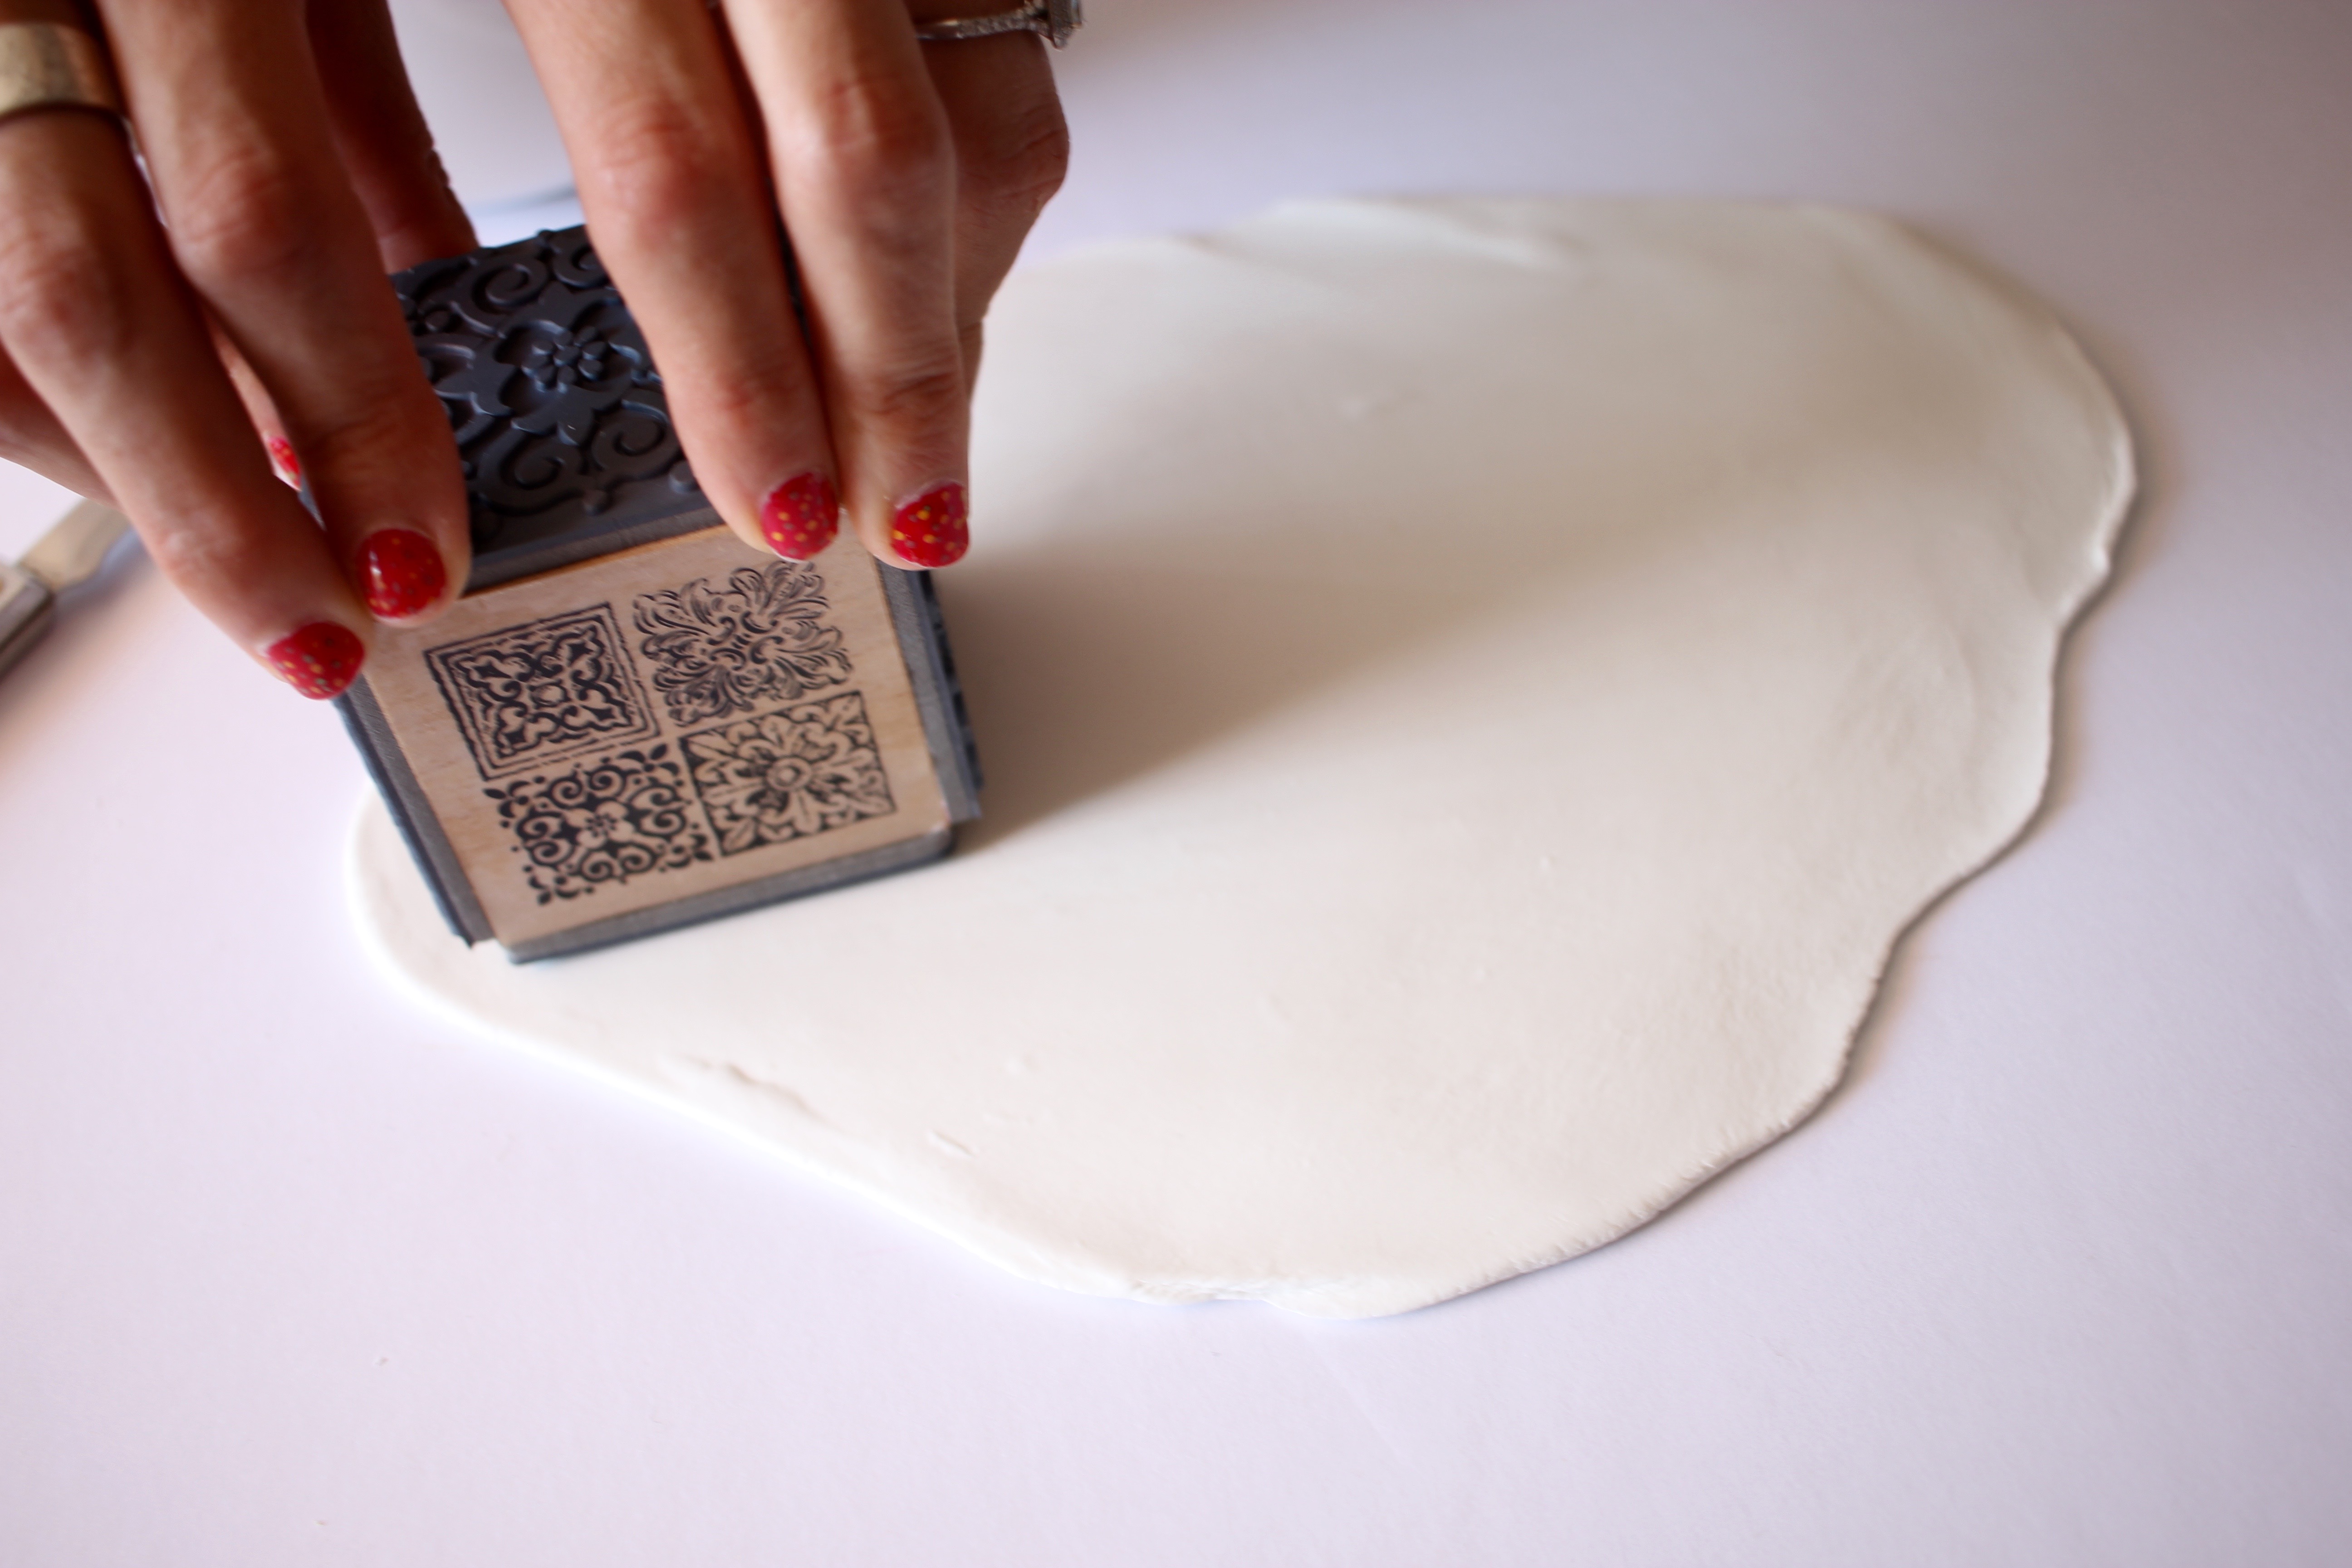
2. Press your stamp firmly onto the clay. Repeat until you have covered the clay with your stamped design. Try not to press too hard as you want to be able to lift the clay away from the table easily and not stretch out the design.

3. Take your bowl and place it upside down on your clay. Use your knife to cut around the edge of the bowl.

4. Peel away the remaining clay to leave the circle of clay behind that will form your bowl.
5. Lift your clay circle carefully and place it inside your bowl. Using your thumbs, press the clay down gently into the bowl. I found it works best if you try and apply even pressure as you work your way around the bowl.
6. Repeat until you have as many bowls you want and leave to dry overnight. By the next day the printed side of the clay should be hard enough for you to remove it from the bowl. You may find the clay is still damp where it’s been touching the glass bowl. Place your bowls upside down on a baking cooler rack to allow both sides to dry fully.
7. When your bowls are dry, sand away any rough edges.
8. Add a gold edge to your bowls or paint them however you like.
9. Let them dry again and then spray with a varnish for a glossy or satin finish.

What do you guys think?