
If you watched my Facebook Live last week you may have seen me tease this DIY tassel wall hanging. It is such a quick, fun way to update a space and can be customized in so many ways! If you are looking to fill a large wall space for relatively little time and money, this is the DIY for you. See below for instructions on how to make…
Materials Needed:
- Yarn (Feel free to chose different colors and thickness of yarn, I chose three shades of blue for this project!)
- Scissors
- One Command Hook (for hanging)
- Wooden Dowel
- Two different sized square objects to wrap your yarn around (I used a tile sample and a clipboard!)
How-to:
1. Grab one of your square objects (for me that was a tile sample) and secure one end of your yarn to it with a piece of tape. Begin wrapping the yarn around the object until you achieve your desired thickness, around 15-25 wraps should be enough! *Make sure you don’t wrap the yarn too tightly or you will have trouble sliding it off the object. Once you are done wrapping, snip the end of the yarn, tie together and carefully work your yarn off of the object.
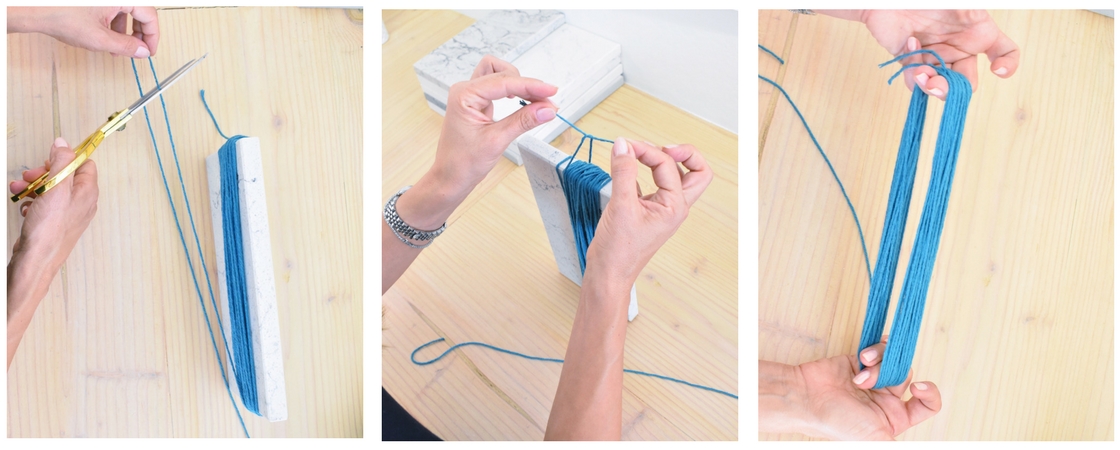
2. Cut a small piece of yarn 1-2 inches long to use to tie your the yarn together on one end, making sure to leave enough room to slip your dowel through. Grab your scissors and cut the loop on the other end of the tassel. Don’t worry if your ends look uneven, you can always trim the edges!
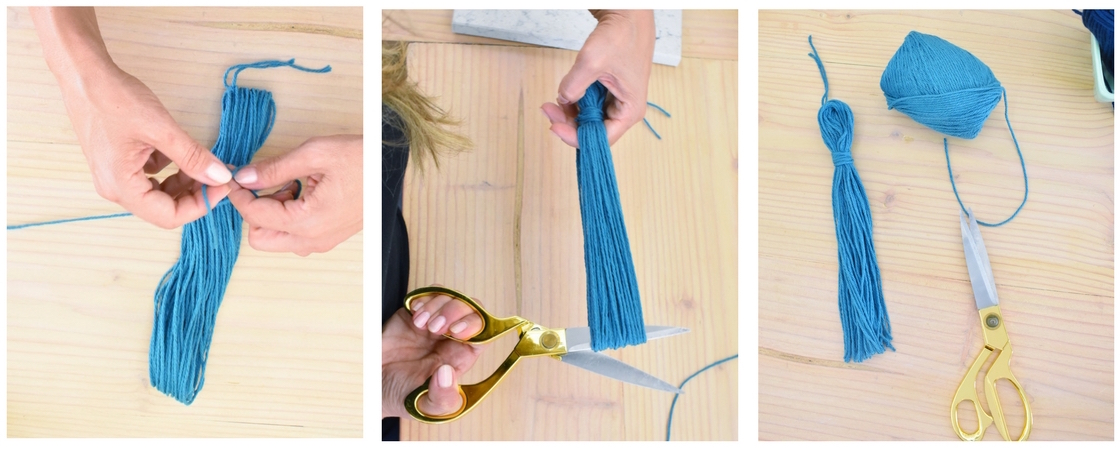
3. Repeat steps 1 & 2 until you have as many tassels as you would like for your hanging. I chose to create two small tassels and one longer tassel, but you can mix and match lengths and thickness as you please.
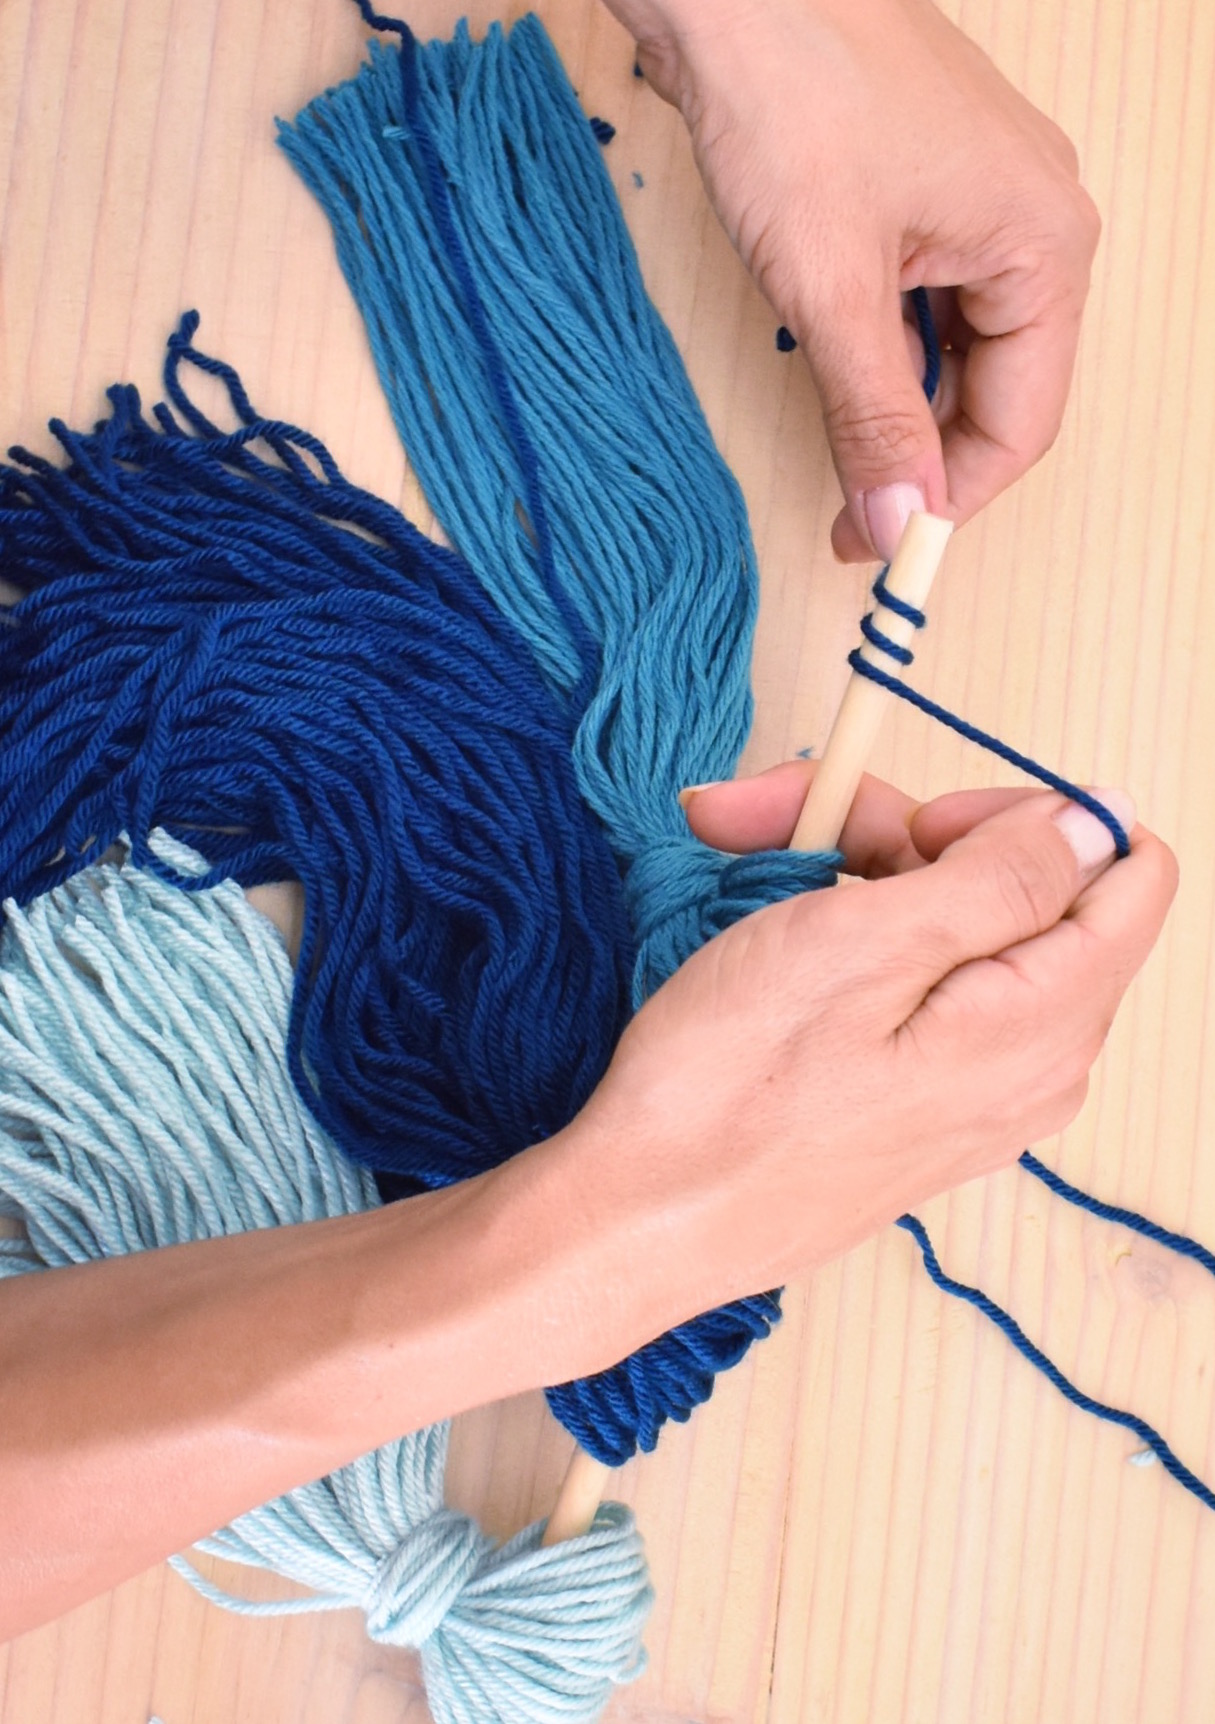
4. Slide your tassels onto your dowel in whatever order you would like. Once you have decided on a design, cut a piece of yarn to use to hang your art. Wrap the yarn three times on each end and finish it with a double knot.
6. Hang your masterpiece, mine is currently living in my guest bathroom!

Make sure to tag me if you make these, I can’t wait to see all of yours!
xoxo