Hey guys! As I mentioned a few weeks ago, I was lucky enough to have my friend and professional organizer (and her amazing team) come and help #TheSOTOhouse get tidy! I asked her to write up a few tips on how to achieve the same look in your own home. Take a peek and see the amazing before and afters.
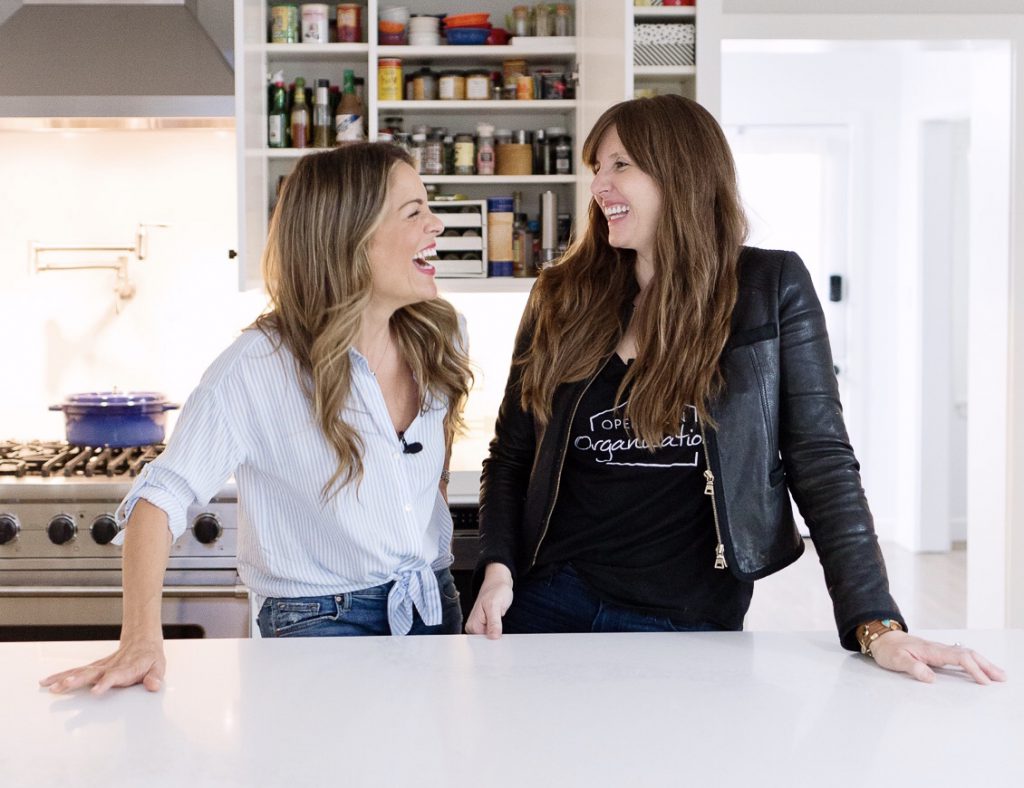
A guest post by: Katrina Teeple, Celebrity Organizer
We spend a lot of time in our kitchens! And if you have children, then you can probably double the time. In most cases, the kitchen is the hub of the home. We pack a mixture of activities and resources into this one room. From opening the mail to packing lunches, our kitchens are happening places and when a space gets utilized, it can quickly become cluttered without the proper systems in place to maintain order.
As a mother of two young kids myself, I understand that kitchens need to function for the season we are in, without sacrificing style. What I have found in my 15 years of experience as an Organizational Expert and owner of Operation Organization, is that order has a better chance of lasting when we take the time to set up a system that is functional AND beautiful. To me, what the insides of cabinets and drawers look like matter just as much as the aesthetic of a home. You can probably tell, I am passionate about organization, efficiency and interior style. So when Sabrina and I got to work together, it was like a match made in heaven. Since we are talking kitchen organization, I am serving up my 5 tips to creating and maintaining order. Bon appetit!
TIP ONE: Keep it Close or Pack it Back!
Consider how often you use things. For instance, if you barley ever cook enough for leftovers, then don’t make your Tupperware cabinet or drawer within arms reach. Save that precious kitchen real estate for something high-use…whatever that may be. If you are in that mom phase and not that throwing-a-dinner-party moment of your life, then consider switching things around for maximum efficiency.
This was an underutilized drawer stuffed with everything from batteries to bags of change. See on the left how we turned this same drawer into a practical storage place for packing Olivia’s lunch.
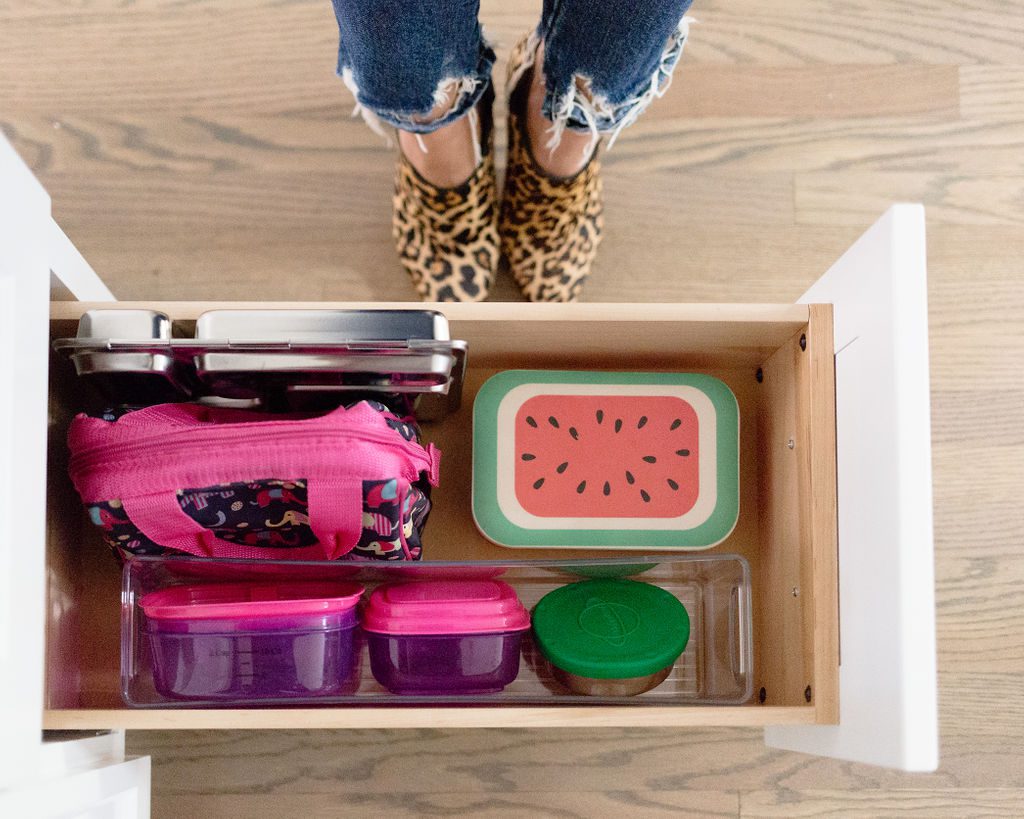
PRO TIP: There is one key container we added to this drawer that makes it function with ease. It is the narrow clear Linus Deep Drawer Bin from The Container Store. It keeps anything from sippy cups to Tupperware from rolling around.
TIP TWO: Pamper Your Pantry! Far too often I see my client’s pantries become a dumping ground for where amazing meal possibilities go forgotten about until they end up in the trash with other expired food. This happens because food gets shoved away in a hurry leaving it hard to see what you have. Pamper that pantry and give it some love. I recommend decanting dry goods into containers. It preserves freshness, allows you to see what you have and looks oh so orderly! My favorites are these Artisan Glass Canisters with Walnut Lids from The Container Store. They also come with Oak Lids if you like a lighter look.
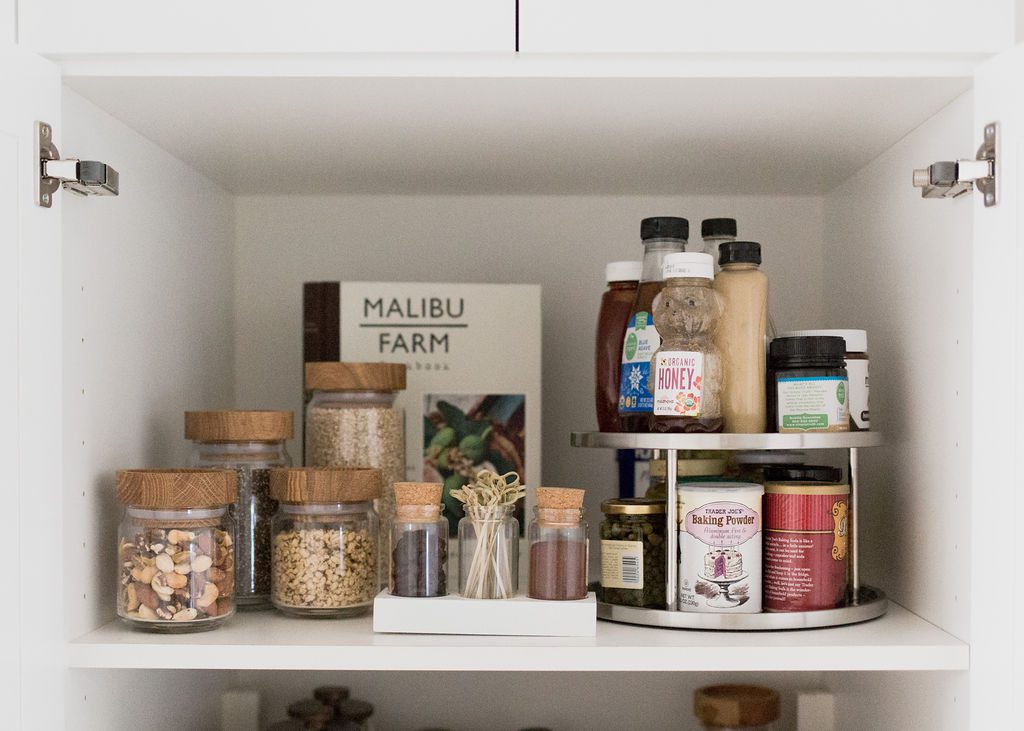

Open bins or baskets make for great grouping. Now even little Olivia can help put away the groceries. Like with like, lovelies! This is the secret to keeping on top of a clutter free pantry, while involving the kids. In Sabina’s pantry, we categorized snacks in wire baskets. Then, we moved the canned goods lower down because they are less used. Ultimately what will make a pantry stay organized is not over shopping and instead shopping for the space you have. Lastly, build in 10 minuets of tidy time each week to keep on top of this frequently used area.
TIP THREE: Chuck the Junk!
Can we agree that all you need is ONE organized miscellaneous drawer? Ok, good…thank you! I feel like I can continue on with this post now. Junk drawers become junky because we don’t take the time to chuck the junk regularly enough. When I moved to Dallas, Texas my clients started using this term I had never heard of before. They would say during an organizing session “ just chuck it, Kat!”. Well, it has stuck and now I really encourage my clients (whatever state I am in) to chuck the junk and leave what you love. When I first showed up at Sabrina’s house, she had four junk drawers. Here is proof that the HGTV/TLC stars are actually a little bit more like us!
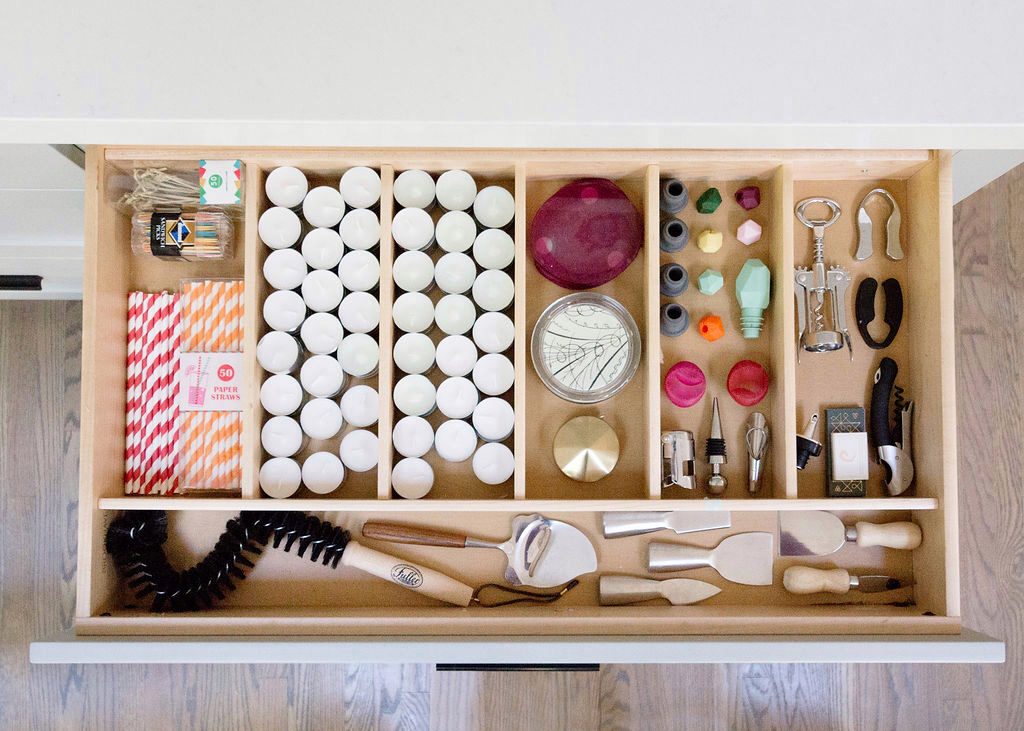
Sabrina diligently went though my sorting and purging process and now her four junk drawers have become one. During the process, we discovered that the rest of the items she wanted to keep really belonged somewhere else in her house, like in the entertaining drawer, or BBQ drawer.
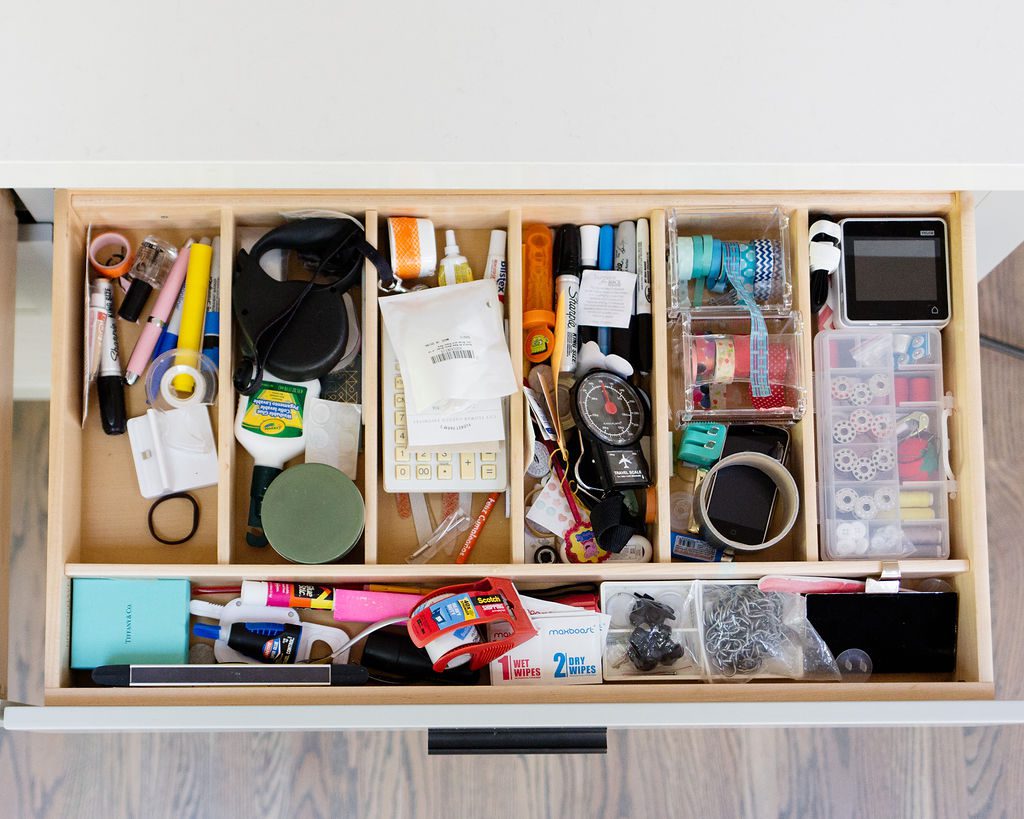
Chuck the junk once a month, and keep your junk drawer tamed. Don’t dread this monthly task! All you need to do is stand over your junk drawer while drinking some coffee and get to it. Keep a trash can close and a little basket closer. Toss the actual trash, like old receipts and soy sauce packets and use the basket for all the bits and bobs that belong somewhere else. When you’re done with your sorting, walk around the house and put back the bits and bobs where they belong. You will feel so accomplished, promise! See how Sabrina did below…
TIP FOUR: Station Creation
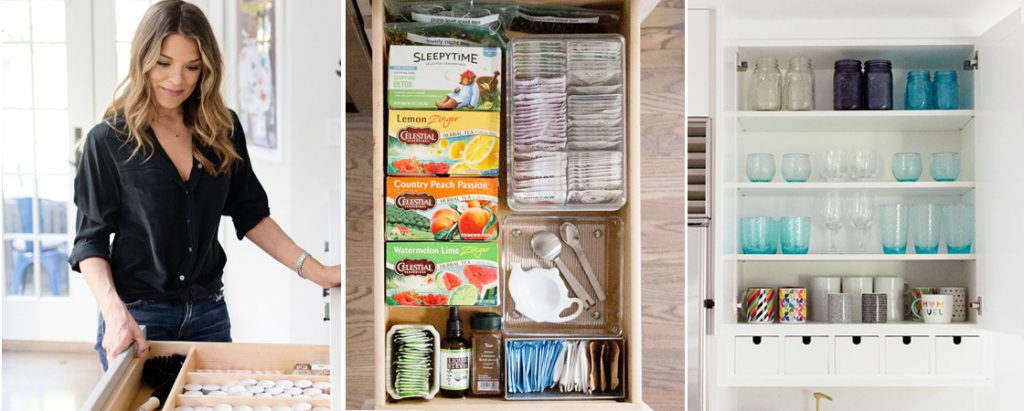
Admit it, you love a kitchen station too. Whether it’s coffee or tea, creating a station for your morning mug of choice is something most of us adults still get excited about. We were tickled to find out that Sabrina is both a tea & coffee drinker, so we got to set up a double-duty sipping station. The first step in creating any station is to choose the ideal place in the room. Whether it’s a smoothie station or command station, it is all about location, location, location because proximity is power when it comes to efficiency in the kitchen. Once you have chosen your cabinet and counter fit for the job, it is time to declutter and debunk the myth that stations can’t be stylish. Keep countertops clear by reorganizing the drawers and cabinets tied to your station area. Make sure you don’t have to dig for anything. A rule of thumb I teach my clients is that if you have to move something out of the way to see something else, you have too much in that category. Remember, less is more my minimalists in training!
TIP FIVE: Less is Lux!
Let me let you in on a little secret…spaces look more luxurious when there is less stuff. Think of any hotel, Real Simple article, makeover show with a before & after reveal. What they all have in common is this theme of less. When you create space between things, it makes an area look elevated, polished and curated. This theory goes for kitchen cabinets and counters too! Here are my rules for clutter free kitchen cabinets and counters:
Get rid of things that you have in excess. Remember, you are responsible for everything you own, and that means taking care of it, washing it and putting it away. I don’t know about you, but I would love to have less things to wash and put away! So, the fastest way to start living with less is to pass on what you don’t need or love. Ask yourself, “can I be fine without this?” If the answer is yes, then you know what to do. Bye, bye, clutter and hello simplicity!
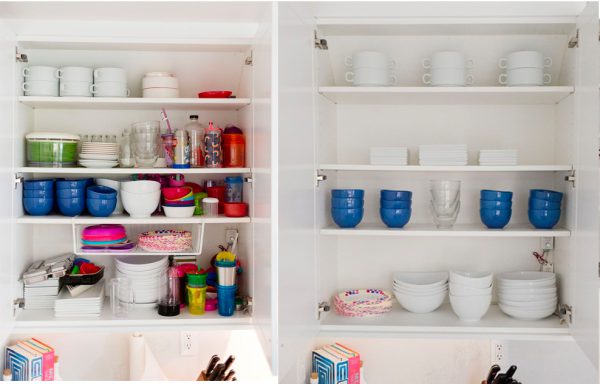
We encouraged Sabrina to donate the majority of the kids’ dishware and relocate what she kept to a low drawer that Olivia can reach. PRO TIP: I recommend that my clients have at least two fingers width between the rows of their dishes. This ensures you don’t stuff your shelves.
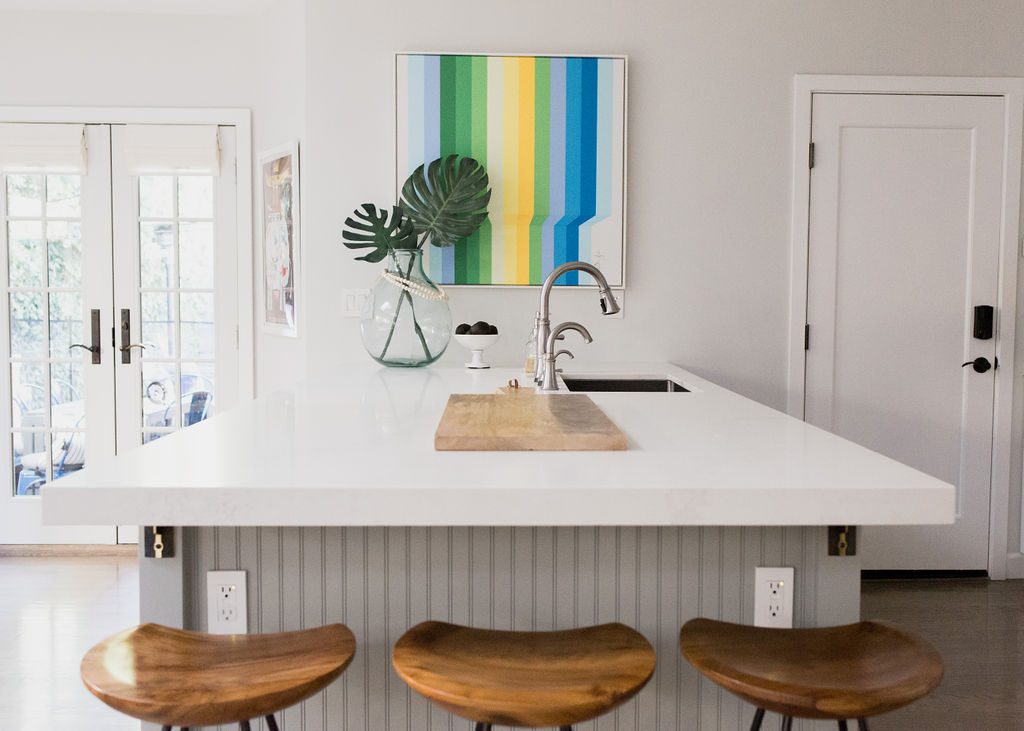
PRO TIP: Sabrina added clutter free style to her countertops with bright art and greenery. She also uses a dish drying rack that fits into her sink, keeping her kitchen island looking sleek! You can find one here.
If you’re feeling overwhelmed and it seems like a clutter free kitchen is a far cry from reality, remember that it is a process and doesn’t have to be perfect after one weekend of digging through drawers The best way to make organizing stick, is to make it a lifestyle and not something you do once every few years when you move. Work on the home you’re in now, even if it isn’t your dream house. A bit of reorganizing can go a long way in shifting the energy of any space!
Happy Organizing!
Katrina Teeple (Stay connected with me on Instagram)
Photos : Hylah Hedgepeth